Templates & Cutting
Some DSQ quilt patterns include full-size patterns for cutting fabric pieces. If you’re using the print version of the pattern, the pattern pieces are sometimes printed on both sides of the sheet or overlap on a single side. Make copies or trace the pattern pieces separately and keep the original template sheet intact with the pattern for reference. Digital pattern purchases include instructions and templates formatted for U.S. Letter-sized paper, and an additional file with the templates formatted for A4-sized paper. Print the templates that match your paper and printer size for best results.
Because you’ll be cutting multiples of the pattern pieces, it’s a good idea to make templates of them first. Templates, made from lightweight cardboard (a cereal box or file folder works well) or plastic, are thicker and sturdier than paper and easier to trace around their edges accurately. They will hold their shape even after repeated use. We also have sturdy acrylic template sets for some of our patterns available for purchase.
Some patterns will require you to make templates without a seam allowance. This technique is used for hand-piecing, and appliqué. You’ll trace the stitching line directly on the fabric, and add the seam allowance when you cut the fabric pieces out.
For other patterns, you’ll cut squares, rectangles, or triangles from the measurements given in the instructions, without having to make or trace templates. These shapes include the ¼" seam allowance. The old adage of “measure twice, cut once” is a good one to remember when cutting this way.
Whether you are cutting from templates or from measurements, it’s essential to take the time to press your fabric before you cut.
Making Templates
To make templates, roughly cut out each pattern shape from the printed or copied template sheet(s). Use rubber cement or a glue stick to adhere the pattern pieces to lightweight cardboard or template plastic, then carefully cut each one out along the solid lines with a craft knife and cork-backed ruler.
If you use a photocopier to first copy the patterns, check the copy against the original to make sure it is accurate. If you’re using template plastic, which is generally translucent, you can also trace the pattern pieces directly onto the template plastic using a thin permanent marker if you prefer.
Some DSQ quilt patterns call for pattern pieces that are the reverse, or mirror images, of each other. To avoid confusion, it’s best to make a duplicate template of the pattern piece, flip it over and mark the reverse side.
Transfer all identifying information to your templates, including the pattern name and piece letter, grain direction, the number of pieces to cut per block, and any notches.
On angled or curved pieces, if you wish, use a push pin to make a hole (or use an ⅛" hole punch) at the intersection of seam allowances. Transfer this point to your fabric pieces with a sharp pencil to help you correctly align the pieces when sewing.
Using Templates
Following the pattern instructions, arrange the templates on the fabric. Trace around the edges with a sharp pencil, starting your first piece inside the selvage (you can trim the selvage edge first if you prefer). A pencil line is more precise than a chalk line, so if the fabric is dark, try a light-colored or white pencil. Most DSQ patterns instruct you to trace your templates on the right side of the fabric, but if the fabric is too dark or too busy to see the lines, you can trace on either side. If the quilt pattern has asymmetrical templates, be consistent and trace everything on either the right side, or everything on the wrong side. The exception is when tracing templates for needle-turn appliqué – your pencil line is your stitching line and needs to be on the right side of the fabric. Remember to flip over some templates for patterns that call for reverse, or mirror image pieces, if you didn’t make a special template for this. Be sure to also transfer the notch markings from the templates to the corresponding fabrics as you trace to help with aligning the pieces during assembly.
When tracing and cutting, try to be as precise as possible. Small errors can add up over repeated pieces. The main thing to save yourself any frustration is to be consistent – your quilt or block size may end up slightly larger or smaller than the size stated in the instructions, but all your pieces will fit together.
Cutting Multiples
To save time when cutting multiples of a pattern piece, cut WOF strips slightly larger than your template (or exactly the same size if you’re cutting rectangles or squares without templates), and layer them right sides up to create up to four layers.
Trace your template on only the top layer. To make fewer cuts and use a bit less fabric, when possible, align straight edges on templates with the cut edge of the WOF strips and rotate the template so the pieces abut and share cut edges with their neighbors. This way, you’ll make one cut instead of two. Repeat until you have traced the template the required number of times.
Use a rotary cutter and acrylic ruler to cut along the traced lines, cutting through. all layers at once. Cut the pieces apart on the long or shared sides first, and the short sides second. If the short sides are curved, cut them using scissors or a small (28mm) rotary cutter.

Cutting Width of Fabric (WOF)
Cutting cross-grain, width-of-fabric strips is the best way to cut borders, binding pieces, and makes cutting multiples of a pattern piece speedier. Fold the fabric so selvage edges meet. Line up your fabric on the cutting mat grid with the folded edge facing you. Your cuts must be perpendicular to the fold, or your strip will be bent at the fold line. Using the mat grid lines and your ruler as guides, cut strips with a rotary cutter to the width required, rolling the cutter away from you.

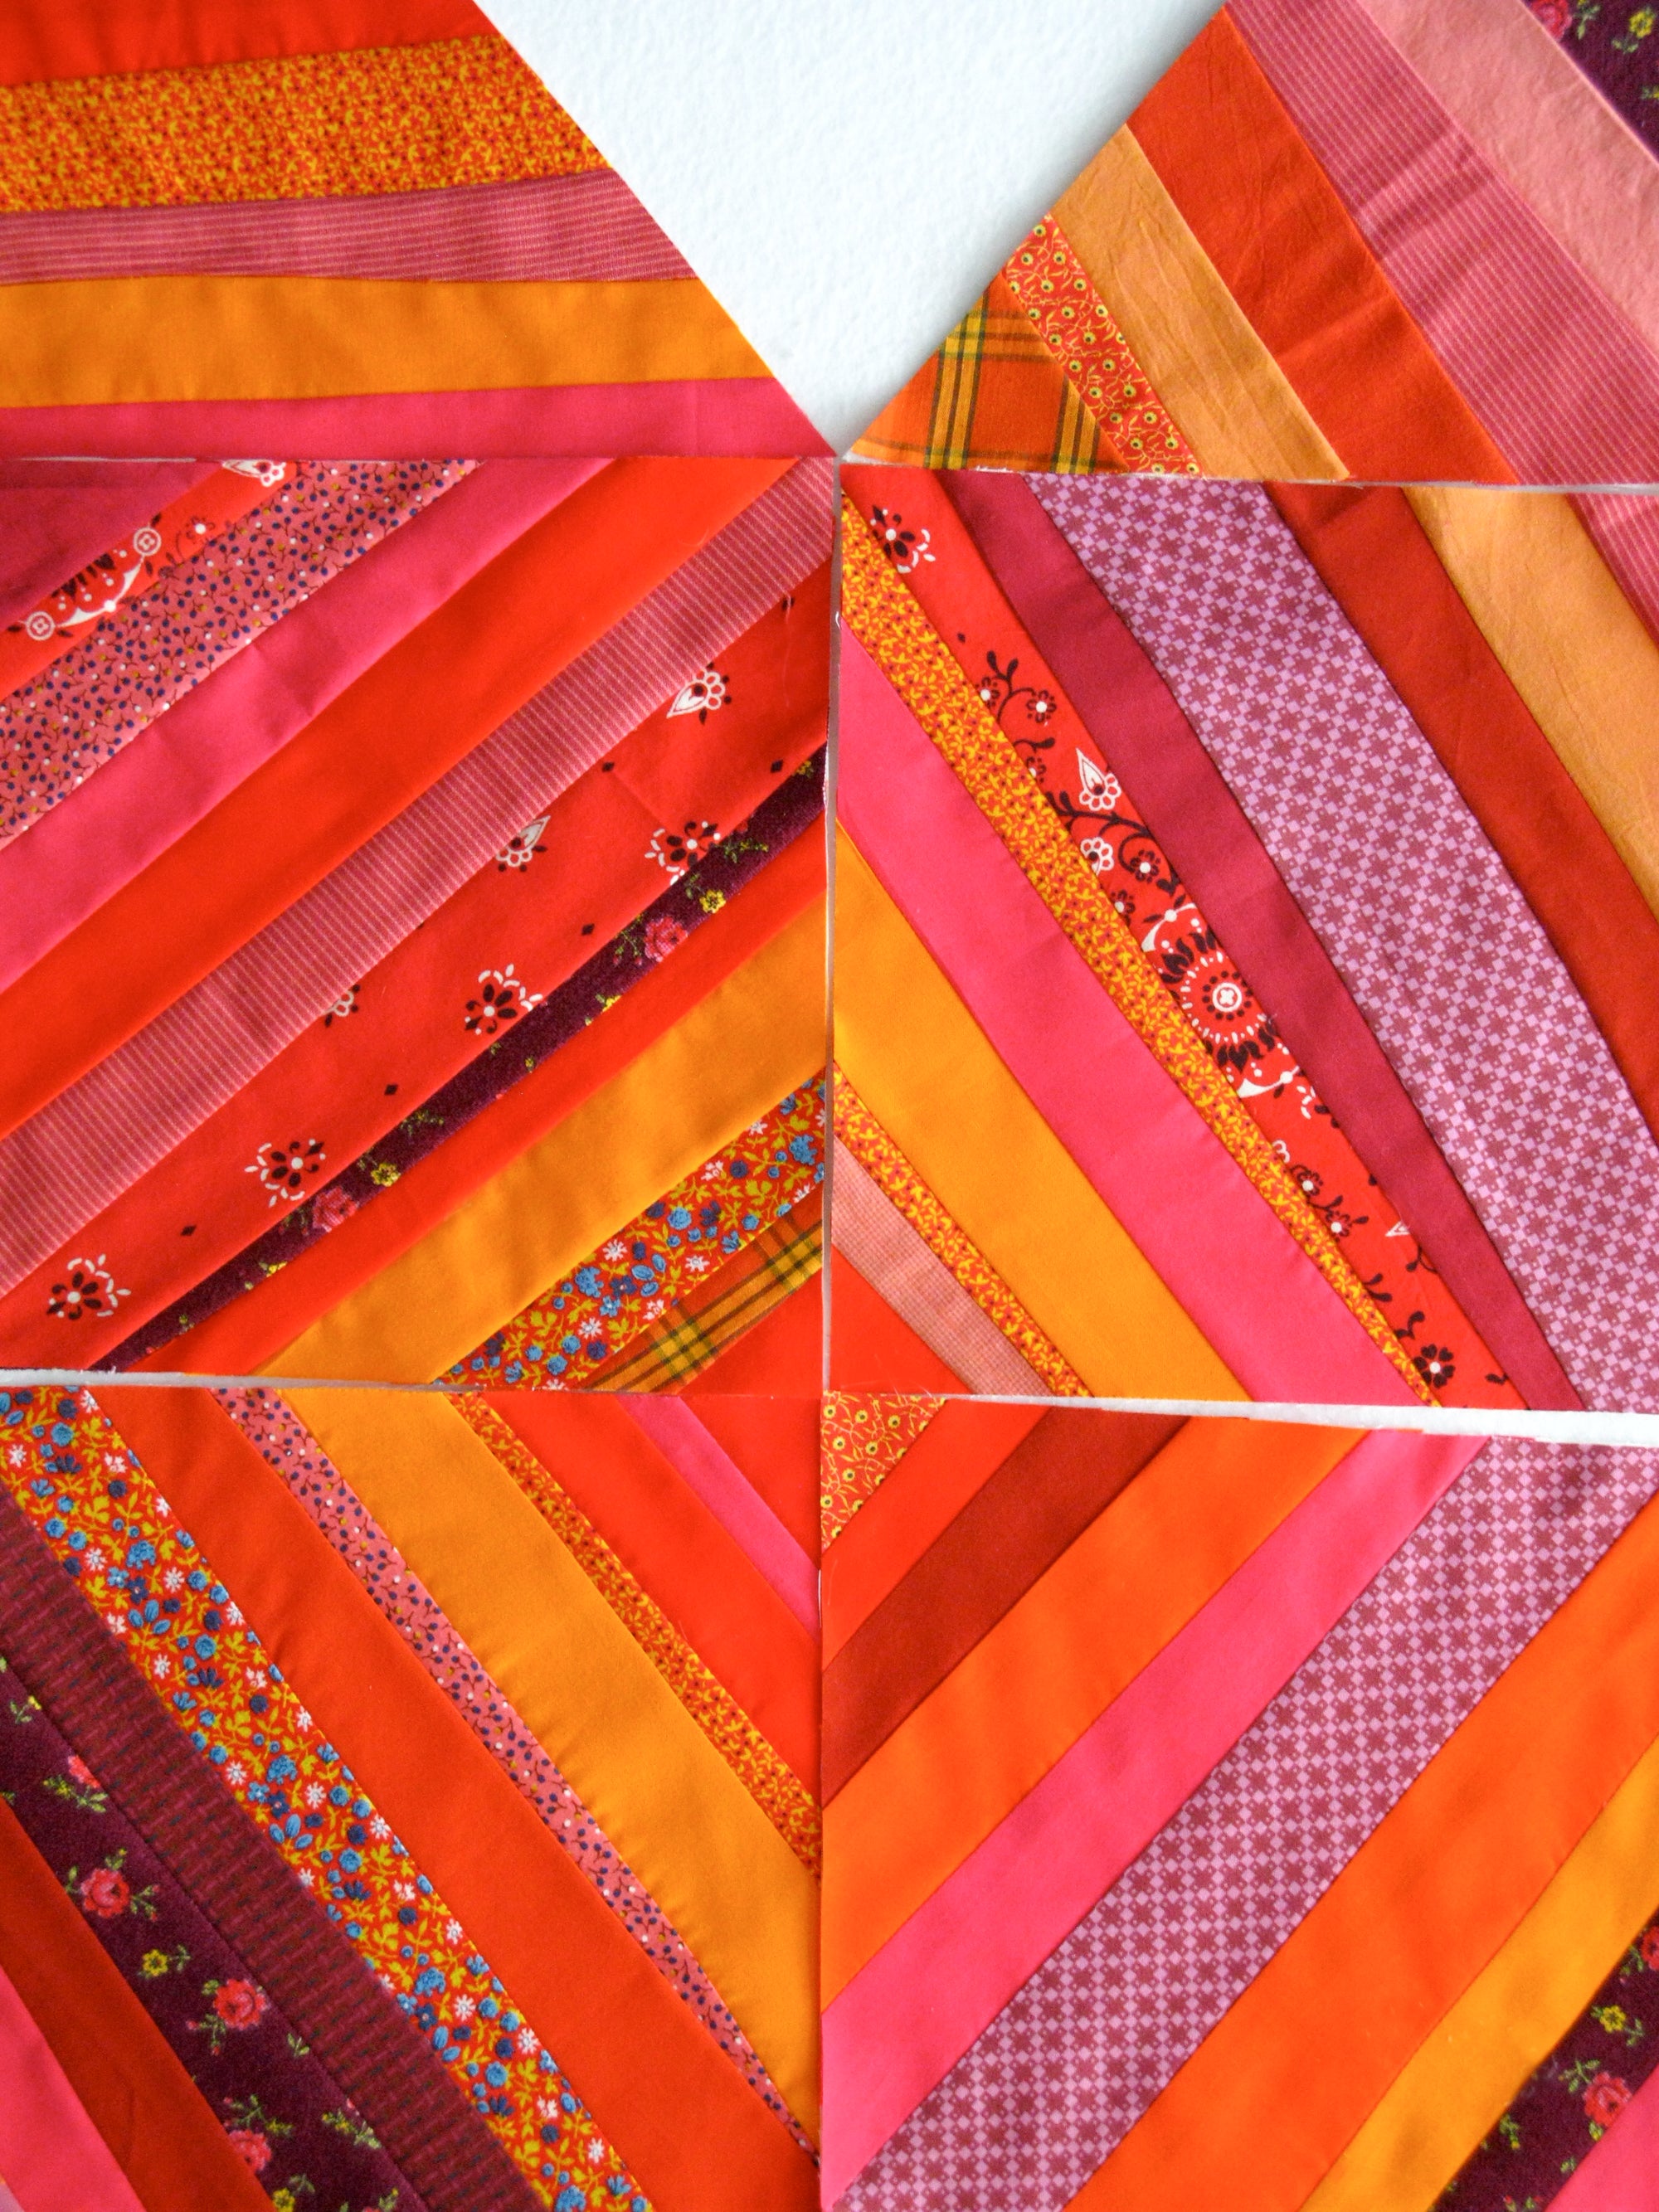
Cutting Triangles
In general, you’ll cut triangles by subcutting squares in one of two ways, as either half-square triangles (HSTs), or quarter-square triangles. Which way you cut them depends on how the triangles appear in the block or quilt top. Since a triangle has three angled sides, there will always be at least one, and sometimes two, bias edges. The bias edges are prone to stretching if you’re not careful when pinning, sewing, and pressing. The goal in cutting triangles either way is to avoid having bias edges on the outside of a block or long seam, or on the outside edges of a quilt top.
Following the pattern instructions, begin by cutting a square. Cut the square in half diagonally to make two triangles. The longest side of these triangles is bias, and will usually be stitched to another triangle of a different fabric to create a HST unit. The outside edges of the resulting square have straight-grain sides. Some DSQ patterns will instruct you to cut the square with an X to make four quarter-square triangles. The two shorter sides of a quarter-square triangle are bias, and the longest side is straight-grain. This type of triangle is used for the outside edges of a quilt top when the blocks are set on point so the outside of the quilt top has straight-grain edges.

Alternatively, a pattern may instruct you to use the two-at-a-time method for making HST units, in which two squares are sewn together and then cut in half diagonally. This method creates two identical HSTs at once, and since you sew first and cut second, you don’t need to worry about stretching the long bias edge of the triangle. For this method, place two squares of the same size right sides together and carefully align the edges. Using a pencil, draw a diagonal line from one corner to the other on the wrong side of the lightest color square. Pin, then sew ¼" from the pencil line on each side. Cut the squares in half diagonally on the pencil line and press to create two HSTs.

Cutting Borders and Sashing
In DSQ patterns, when you need long fabric pieces for borders or sashing, you’ll be instructed to first cut several WOF strips, and then stitch them together end-to-end. From this long strip, you’ll cut your borders or sashing to the instructed length(s). I prefer preparing long pieces this way to avoid having seams line up on every long sashing row or on opposing borders – a small detail perhaps, but it can be especially noticeable in a quilt with repeating vertical or horizontal rows.

Rotary Cutter Tips
Rotary cutters will help you make easy and fast work of cutting accurate pieces. If you’ve never used a rotary cutter before, you’ll be pleasantly surprised at how quickly your fabric stacks pile up. Rotary cutters are also very sharp and you must use them with care, or all that time saved will be spent getting stitches in your finger. To be safe and accurate, follow these rotary cutting tips:
-
You need only gentle pressure to cut through even multiple layers. Excessive force can lead to accidents and is hard on your wrists.
-
Use only sharp blades. When you notice an uncut thread or two or you feel the need to “saw” through a cut, it’s time to change blades. Always have a supply on hand so you don’t get caught short in the middle of a project.
-
Always roll the cutter away from your body. It’s easier and safer than cross-body cuts or cutting toward yourself. To change cutting direction, rotate your mat.
-
Make it a habit to retract the blade – or if your cutter has one, engage the safety lock – between cuts.
-
When using your acrylic ruler as a guide, keep the blade perpendicular to the ruler and flush against the ruler's edge. Brace the ruler firmly, with your fingers away from the cutting edge.